Making an exact copy of a stair stringer is essential when building a new staircase or replacing a damaged stringer. Since the stringer supports the stair treads and risers, accuracy is crucial for a stable and level staircase. By using the right tools and techniques, you can create a precise duplicate that ensures a perfect fit.
Step 1: Select and Prepare the Material
Start by choosing a high-quality, straight board that matches the original stringer in size and thickness. Common materials include pressure-treated lumber or engineered wood, depending on the application. Lay the original stringer on top of the new board to compare dimensions and check for any warping or imperfections.
Step 2: Trace the Original Stringer
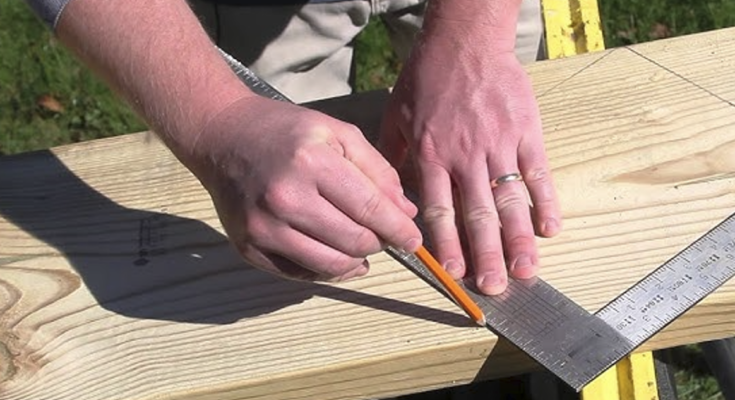
Place the old stringer directly on the new board, ensuring both pieces are perfectly aligned. Using a sharp pencil or carpenter’s marker, trace along the edges of the existing cuts, marking each notch accurately. If the original stringer is damaged or worn, use a framing square with stair gauges to remeasure the riser and tread dimensions to confirm accuracy.
Step 3: Cut and Test the Copy
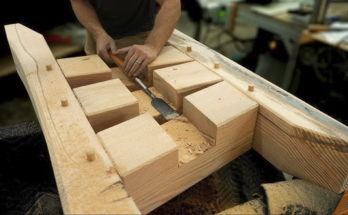
Using a circular saw, make the straight cuts along the marked lines, stopping just short of the intersection points. Complete the inside corners with a handsaw or jigsaw for precision. Once the new stringer is cut, test the fit by placing it next to the original or temporarily positioning it on the staircase. Make any necessary adjustments with a sander or chisel to ensure a snug fit.
By carefully tracing, cutting, and refining your work, you can create a perfect copy of a stair stringer, ensuring a strong and stable staircase. Would you like additional tips on stair building, such as spacing or securing the stringers?


