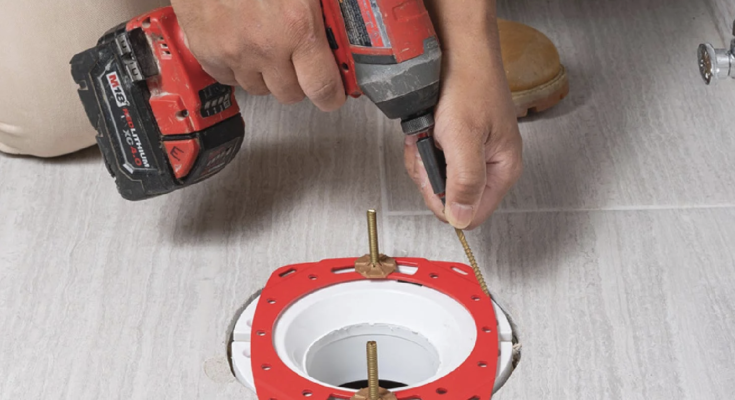
When installing new flooring in a bathroom, cutting around the toilet flange is a crucial step to ensure a precise fit. The toilet flange is the circular pipe fitting that connects the toilet to the drainpipe, and flooring must be cut to fit neatly around it. A poorly cut opening can lead to gaps, an uneven toilet base, or difficulties sealing the flange properly. With the right tools and techniques, you can achieve a clean and professional-looking result.
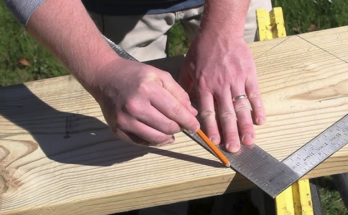
To begin, carefully measure and mark the center of the toilet flange on your flooring material. If you are using tile, vinyl, or laminate, place the piece in position and use a pencil or marker to outline the flange location. A compass or template can help create an accurate circular outline. For tile, a wet saw with a diamond blade or an angle grinder with a cutting wheel works best. If using wood or vinyl flooring, a jigsaw with a fine-tooth blade is a great option. Always cut slightly inside the marked line to ensure a snug fit.
When cutting, work slowly and carefully to avoid cracks or jagged edges. If using a jigsaw, drill a small starter hole inside the marked circle, then insert the blade and cut along the outline. For tile, use light pressure to prevent chipping. If your flooring consists of multiple smaller planks or tiles, consider cutting them in halves or segments to fit neatly around the flange. Once the cut is made, test the fit by placing the flooring around the flange, making any necessary adjustments with a file or sandpaper.
After ensuring a precise fit, secure the flooring in place and install the toilet flange over the flooring if necessary. A proper fit will help create a seamless look and allow for a tight seal when reinstalling the toilet. Using a toilet flange extender or additional wax ring can help compensate for any height differences between the flange and the new flooring. With careful measurement and precise cutting, you can achieve a professional finish that enhances the look and functionality of your bathroom.


