Installing a free-standing tub is an exciting upgrade for any bathroom, adding elegance and a spa-like feel to the space. However, one of the most crucial steps in the installation process is drilling the hole for the plumbing. This task requires careful planning, precision, and the right tools to ensure a smooth and successful installation.
Step 1: Plan and Measure
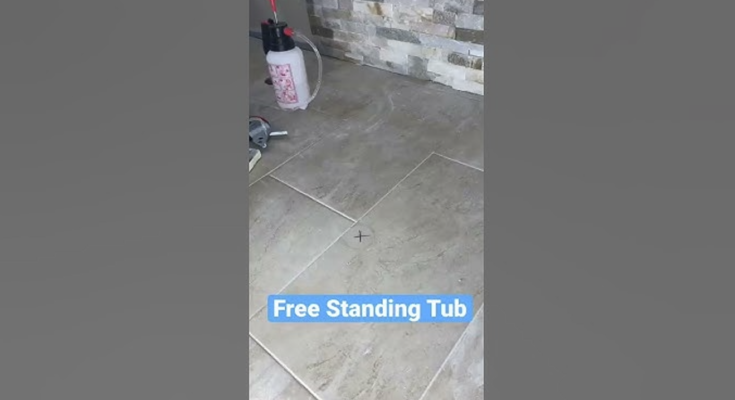
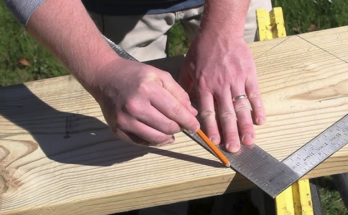
Before drilling, you need to determine the exact location of the tub and where the drain hole should be placed. Start by measuring the tub’s drain opening and comparing it to your plumbing setup. Ideally, the drain hole should align with the existing plumbing to minimize modifications. Use a measuring tape and marker to outline the drilling spot on the floor. Double-check the alignment before proceeding to avoid unnecessary adjustments later.
Step 2: Gather the Necessary Tools
To drill a hole in the flooring, you will need the following tools:
- A power drill with the appropriate hole saw attachment (usually a 4-inch hole saw for standard drains)
- A pencil or chalk to mark the hole location
- A level to ensure accurate placement
- Safety gear, including gloves and protective eyewear
- A vacuum or broom to clean up debris
Step 3: Prepare the Floor
Ensure the area is clear of obstacles and that there are no electrical wires or pipes beneath the marked drilling spot. If your flooring is made of tile or concrete, you may need a specialized drill bit to penetrate the surface without cracking it. For wooden subfloors, a standard hole saw attachment should work efficiently.
Step 4: Drill the Hole
With your tools ready and the location marked, start drilling slowly and steadily to avoid splintering or cracking the floor. Apply gentle pressure and let the drill do the work. If drilling through tile, use a diamond-tipped bit and keep water on the surface to prevent overheating. Once you’ve drilled through the flooring, carefully remove the cut-out section and clean up any dust or debris.
Step 5: Check the Alignment
Before proceeding with the tub installation, place the tub over the hole to ensure the drain lines up properly. Make any necessary adjustments before securing the plumbing connections.
By following these steps, you can successfully drill the hole for your free-standing tub, ensuring a secure and functional installation. With careful planning and execution, your dream bathroom will soon be a reality!


