A freestanding tub adds elegance and sophistication to any bathroom, but properly installing its drain hole is essential for functionality and aesthetics. Unlike traditional tubs, which connect directly to a built-in drain, freestanding tubs require special considerations for placement, plumbing, and sealing. Below are the key steps and techniques for successfully installing a freestanding tub drain hole.
1. Selecting the Right Location
Before drilling or cutting any holes, it’s crucial to determine the best location for the drain:
- Measure the tub’s drain opening and align it with the floor drain.
- Ensure there is enough clearance for plumbing connections.
- Position the tub to allow easy access to the drain for future maintenance.
2. Preparing the Drain Hole
Once the location is set, prepare the drain hole properly to avoid leaks and misalignment:
- Use a hole saw or drill with the correct diameter for the drain pipe.
- Cut through flooring material carefully to prevent damage.
- Remove debris and smooth edges around the cut area.
3. Installing the Drain Assembly
Proper installation of the drain assembly ensures a secure and watertight connection:
- Insert the drain flange into the tub’s drain opening.
- Apply plumber’s putty or silicone sealant around the flange for a waterproof seal.
- Secure the drain assembly by tightening the locking nut underneath the tub.
4. Connecting to the Floor Drain
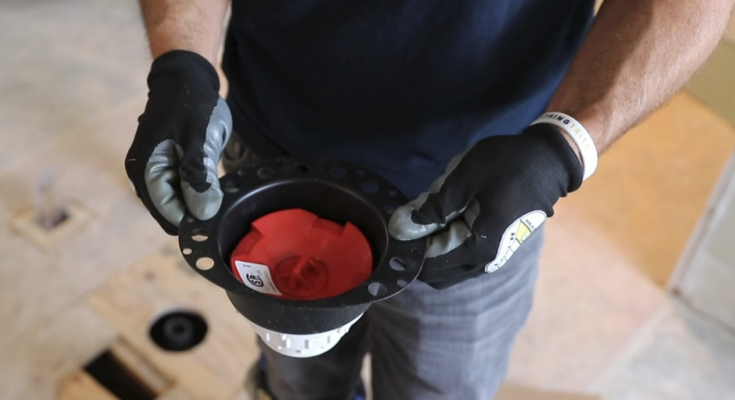
Since freestanding tubs do not attach directly to the floor, a flexible drain coupling or P-trap is necessary:
- Align the tub’s drain pipe with the floor drain.
- Use a flexible connector to accommodate slight misalignments.
- Secure the connection using appropriate fittings and ensure a tight seal.
5. Testing for Leaks
Before finalizing the installation, perform a thorough leak test:
- Fill the tub with water and monitor the drain connections.
- Check for any leaks around the flange, pipe fittings, and floor drain.
- Tighten connections or reapply sealant as needed.
6. Finishing Touches
Once the drain hole is secure and leak-free, complete the installation:
- Cover exposed plumbing with decorative shrouds or trim.
- Ensure the tub is level and stable.
- Clean the area to remove any residue or excess sealant.
By following these steps, you can ensure a properly installed freestanding tub drain hole that functions efficiently and enhances your bathroom’s aesthetic appeal. Careful planning and execution will prevent common issues such as leaks, misalignment, and poor drainage, ensuring long-lasting performance.


