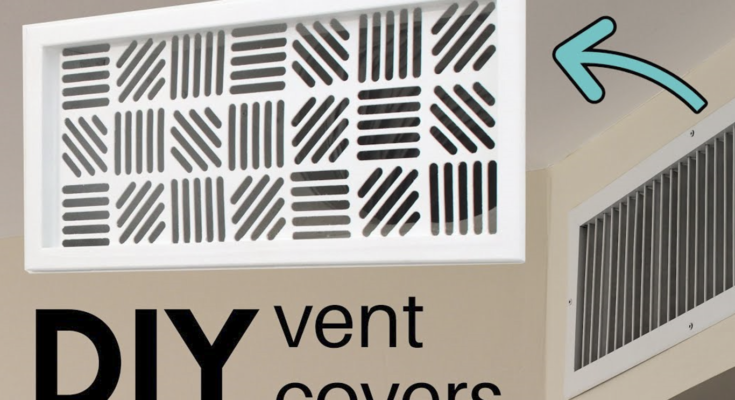
Vent covers are an essential part of any HVAC system, but outdated or unattractive covers can be an eyesore. Replacing an ugly vent cover with a fitted vent is a simple upgrade that can enhance the overall look of a room while maintaining proper airflow. Here’s how to do it efficiently.
Step 1: Choose the Right Fitted Vent
Before replacing the old vent cover, ensure you select a fitted vent that matches your décor and fits the existing vent opening. Consider factors like material, design, and whether you need a vent with adjustable airflow.
Step 2: Remove the Old Vent Cover
- Use a screwdriver to remove the screws holding the old vent cover in place.
- If the cover is painted over or stuck, carefully use a utility knife to break the seal before removing it.
- Clean the surrounding area to remove dust and debris.
Step 3: Prepare for Installation
- Measure the vent opening to confirm the new fitted vent will fit correctly.
- If needed, sand or smooth out any rough edges around the opening.
- Consider painting or touching up the area if the previous vent left marks.
Step 4: Install the New Fitted Vent
- Align the fitted vent with the opening.
- Secure it in place using the provided screws or clips.
- Ensure the vent is level and flush against the surface.
- If necessary, use caulk around the edges for a seamless look.
Step 5: Final Touches
- Test the vent to ensure proper airflow.
- Wipe down the new cover to remove fingerprints or dust.
- Enjoy the improved aesthetics and functionality of your upgraded vent cover.
By following these steps, you can easily replace an old, unattractive vent cover with a fitted vent that enhances the look and feel of your space.


